
You can create a VMOBACKUP account yourself in a few minutes. You’ll need to be a Microsoft 365 administrator for your organization.
Open the registration page
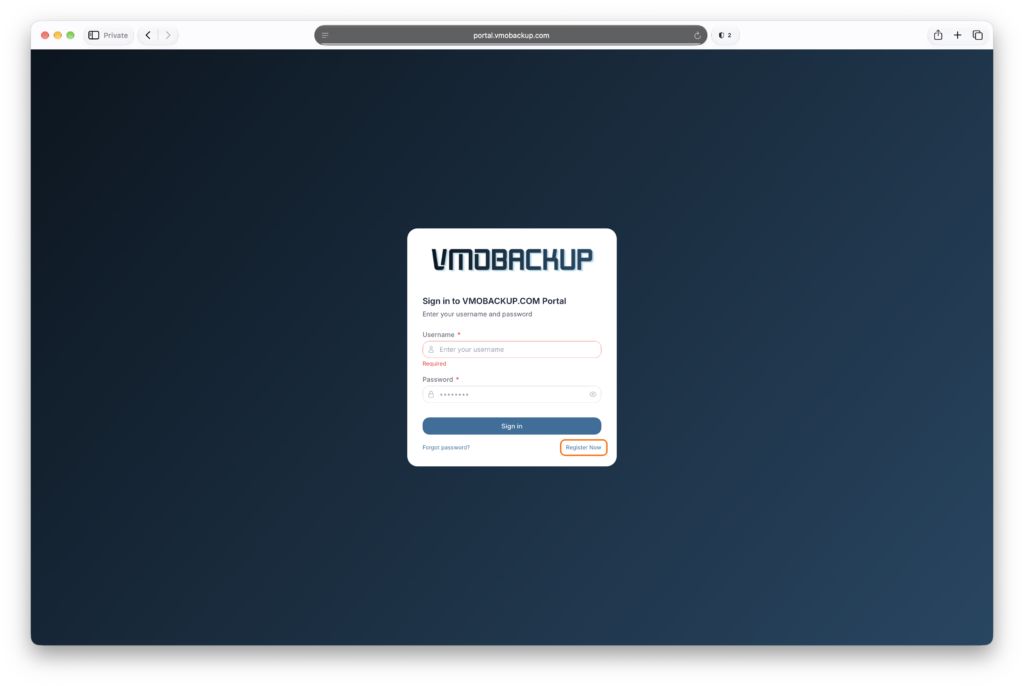
- Go to portal.vmobackup.com.
- Click Register Now.
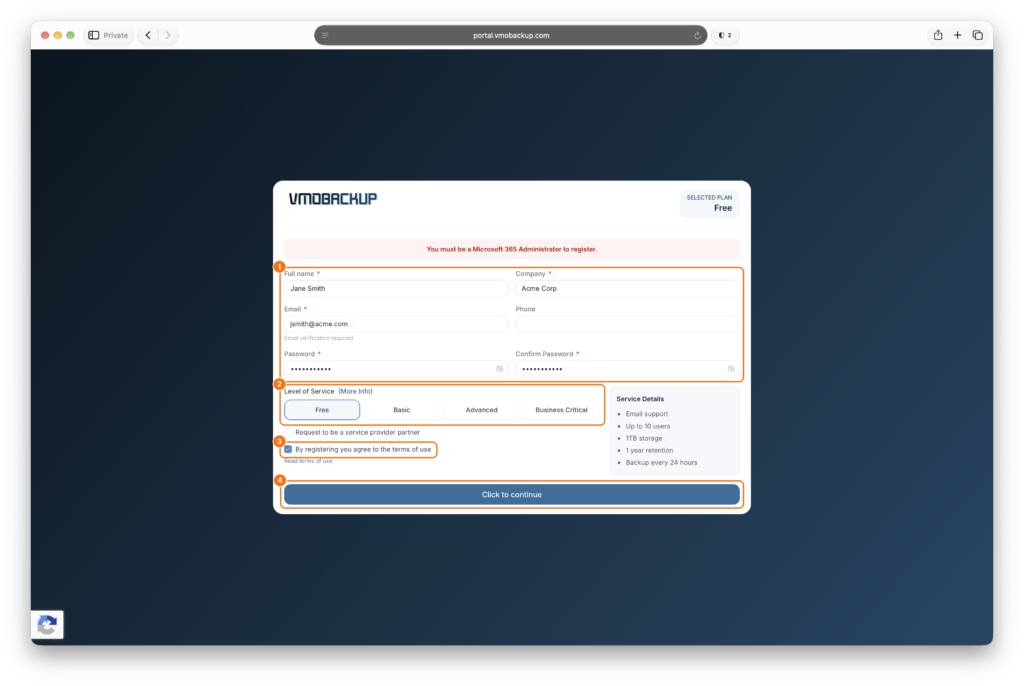
Fill out the registration form
- Enter your details. Add your full name, company, email and a password. Phone is optional.
- Choose your plan. Free covers up to 10 users and 1 TB of storage with no time limit. Basic, Advanced and Business Critical each start with a 30-day free trial. The Service Details box shows what each plan includes.
- If you’re an MSP or reseller, check Request to be a service provider partner.
- Accept the terms. Check the box to agree to the terms of use.
- Click Click to continue.
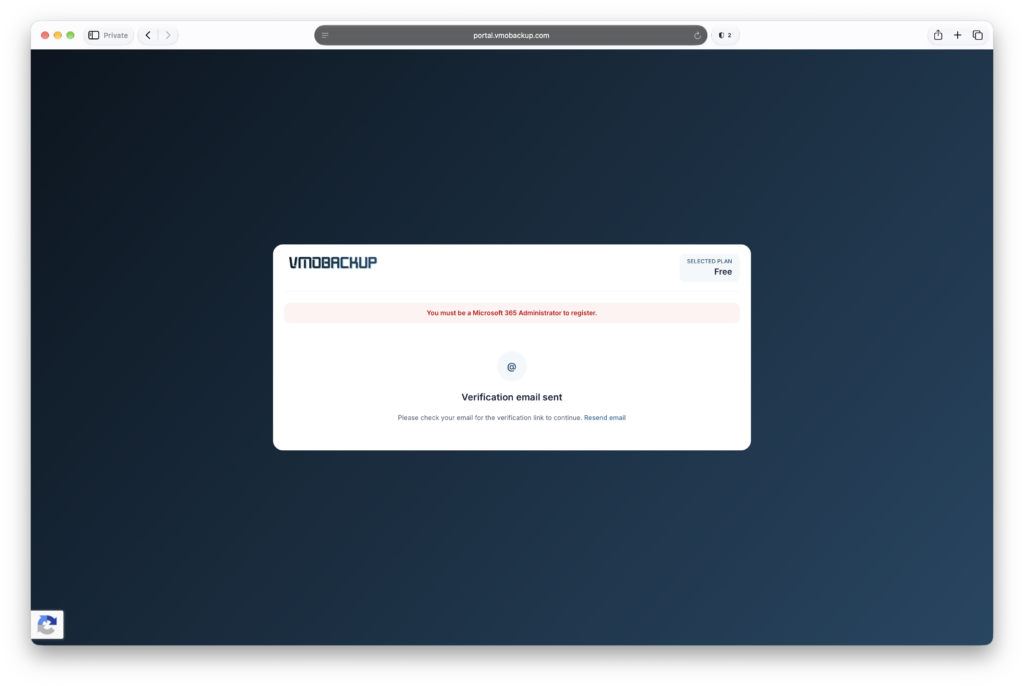
You’ll see a message that a verification email was sent. If it doesn’t arrive in a few minutes, check your spam folder or click Resend email.
Verify your email
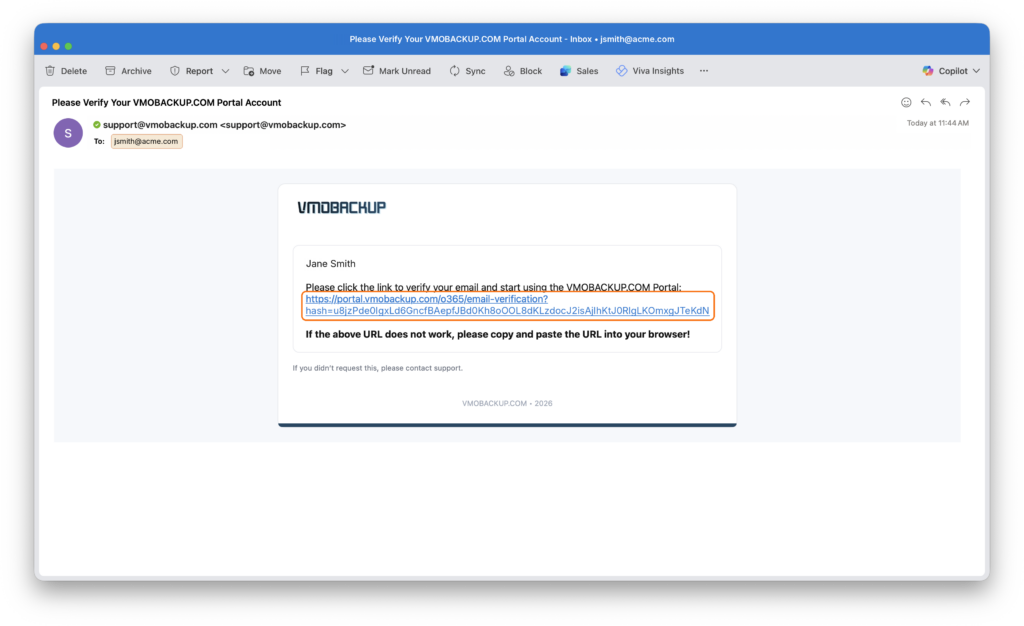
- Open the email from support@vmobackup.com titled “Please Verify Your VMOBACKUP.COM Portal Account.”
- Click the verification link.
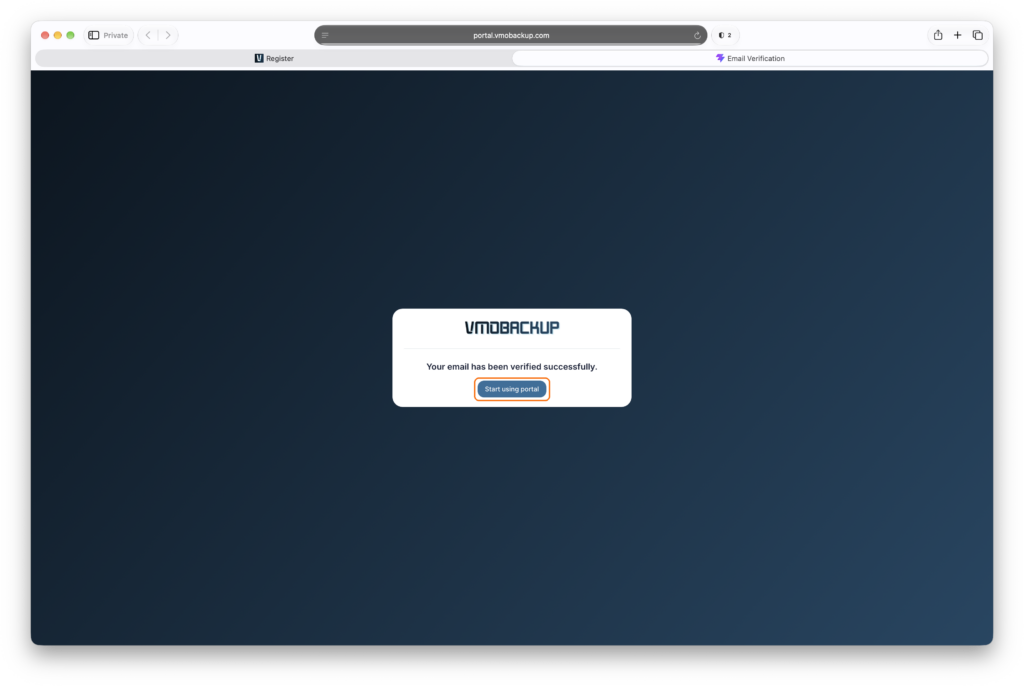
- When you see “Your email has been verified successfully,” click Start using portal.
Sign in for the first time
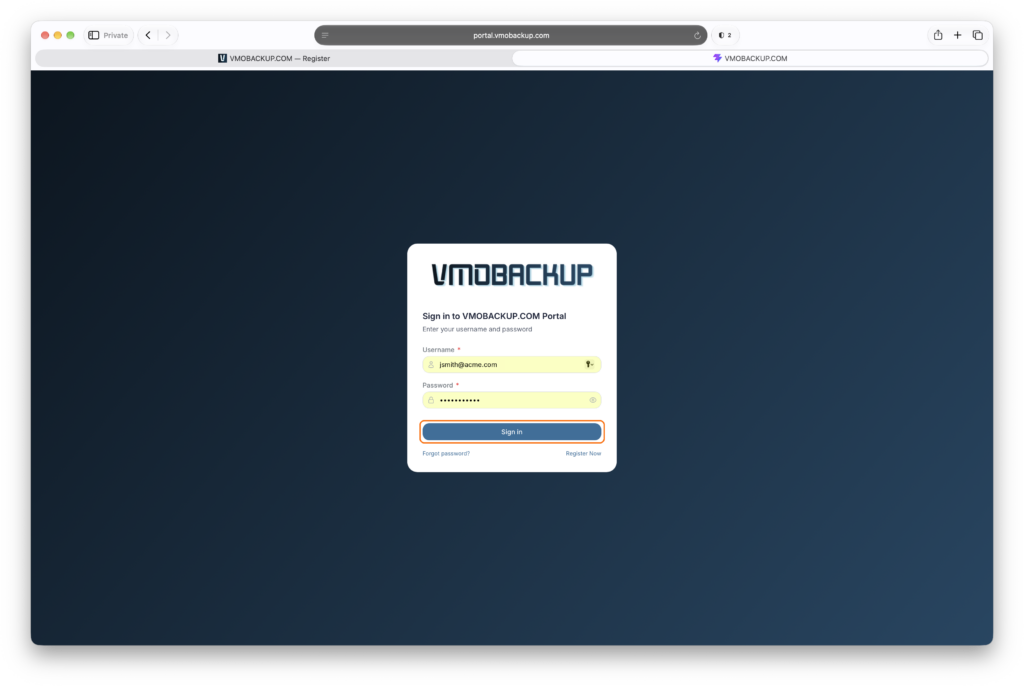
- Enter your email and password, then click Sign in.
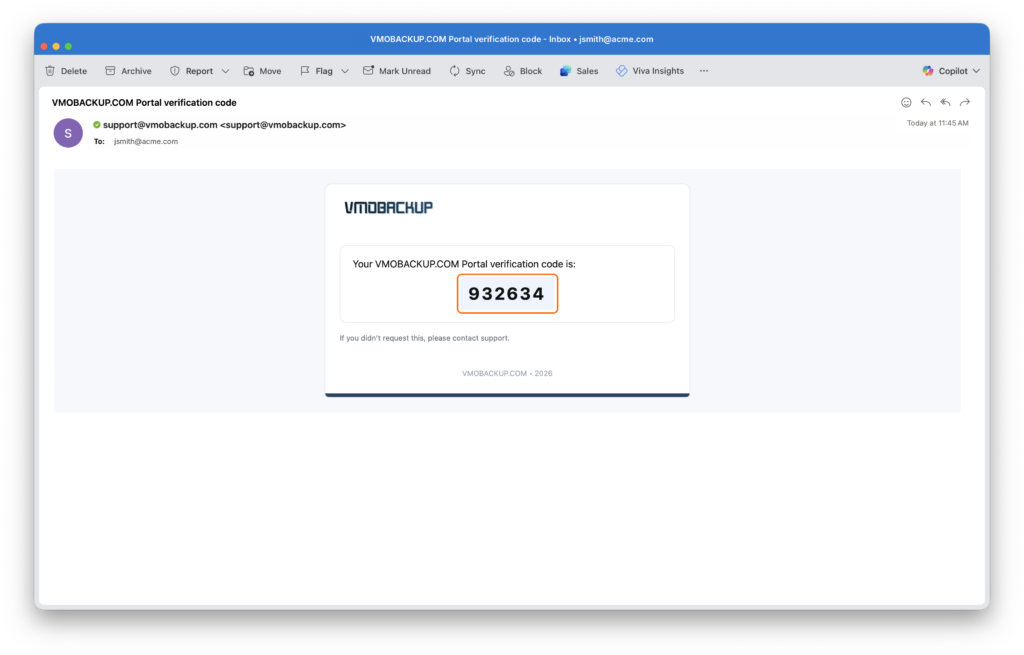
- We’ll email you a 6-digit verification code.
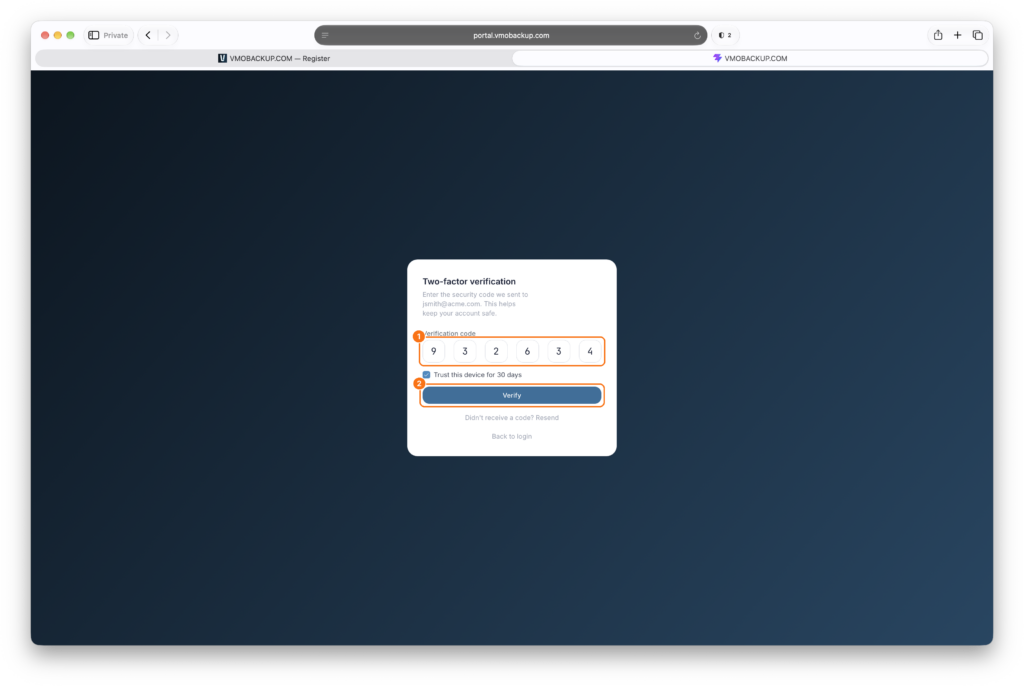
- Enter the code and click Verify. Check Trust this device for 30 days if you don’t want to enter a code every time you sign in on this computer.
Start using the portal
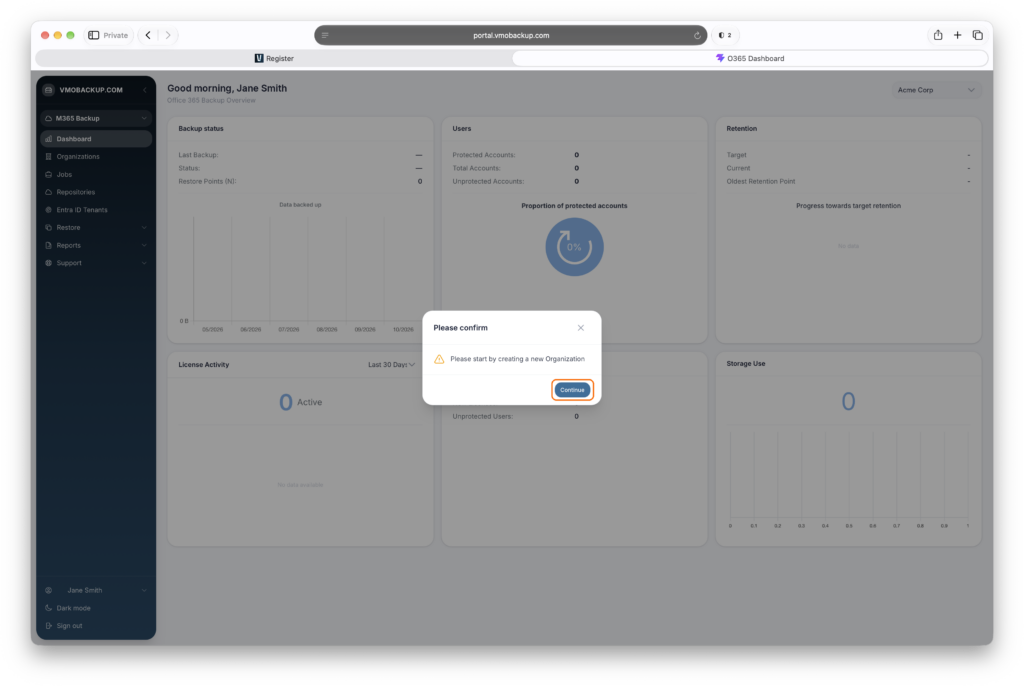
The first time you sign in, the portal asks you to create an organization. Click Continue, then follow Set Up an Organization and Job to connect Microsoft 365 and start your first backup.
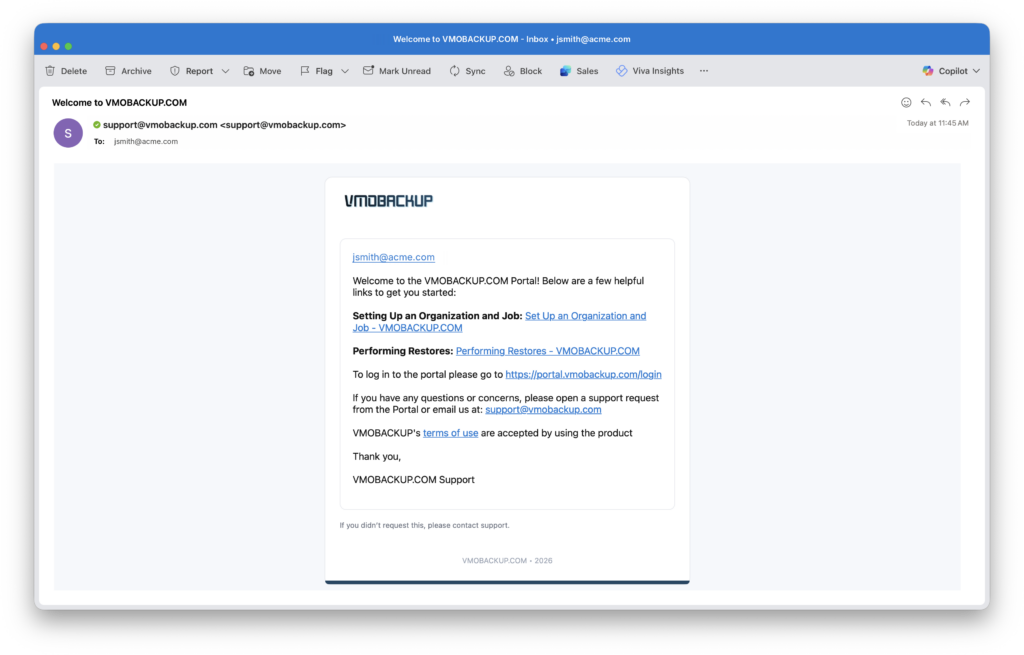
You’ll also get a welcome email with links to the setup and restore guides.
Note: Immutability is on by default for new accounts, so your backups can’t be changed or deleted during the retention period.