
Connecting Entra ID #
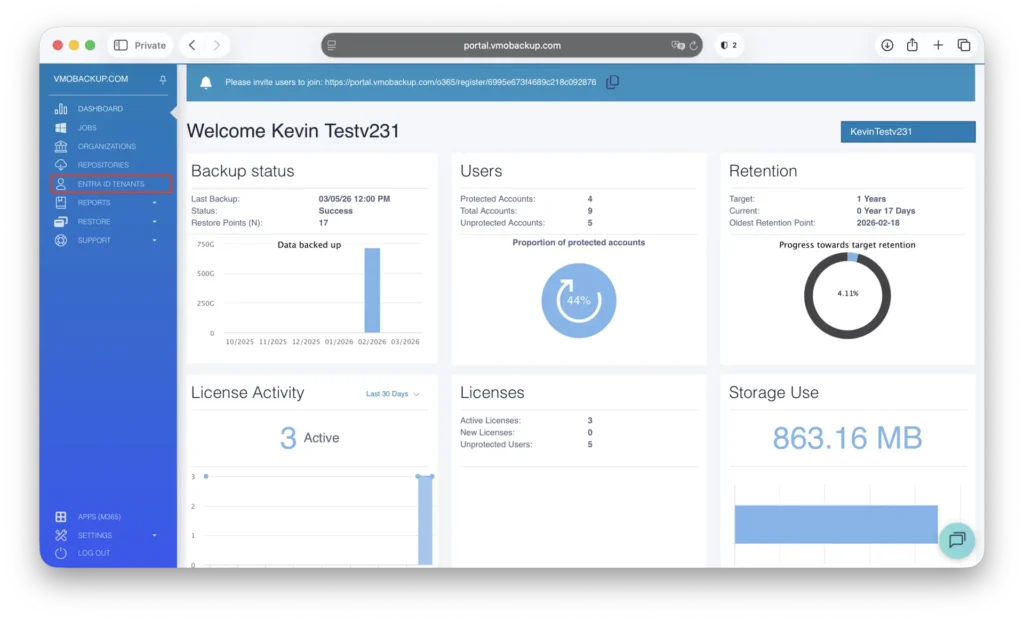
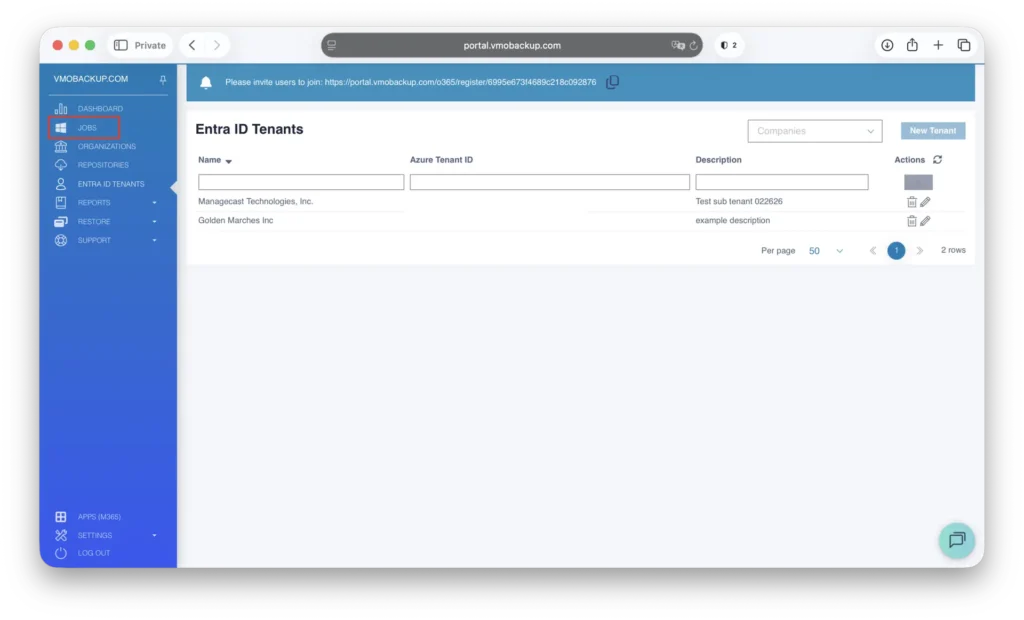
Navigate to the Entra ID Tenants tab.
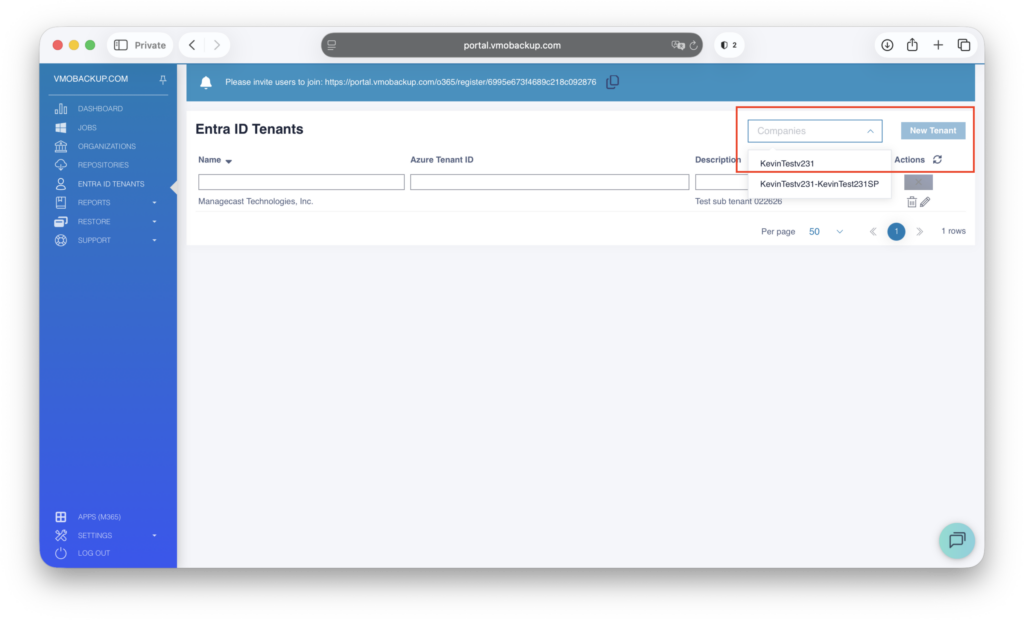
From the Company drop-down menu, select your organization. Click New Tenant.
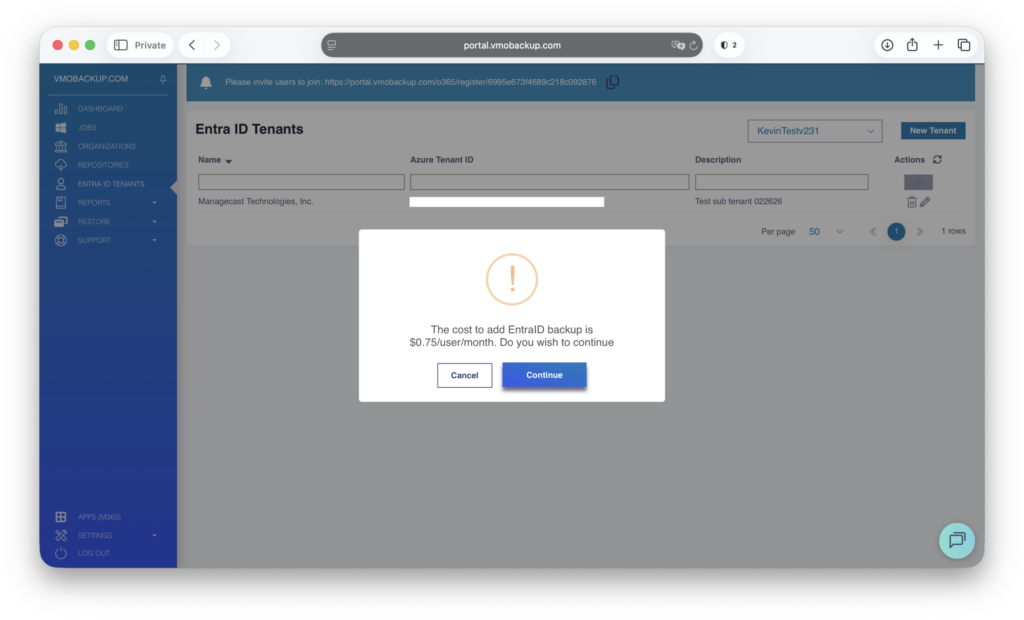
Review the Entra ID information presented, then select Continue.
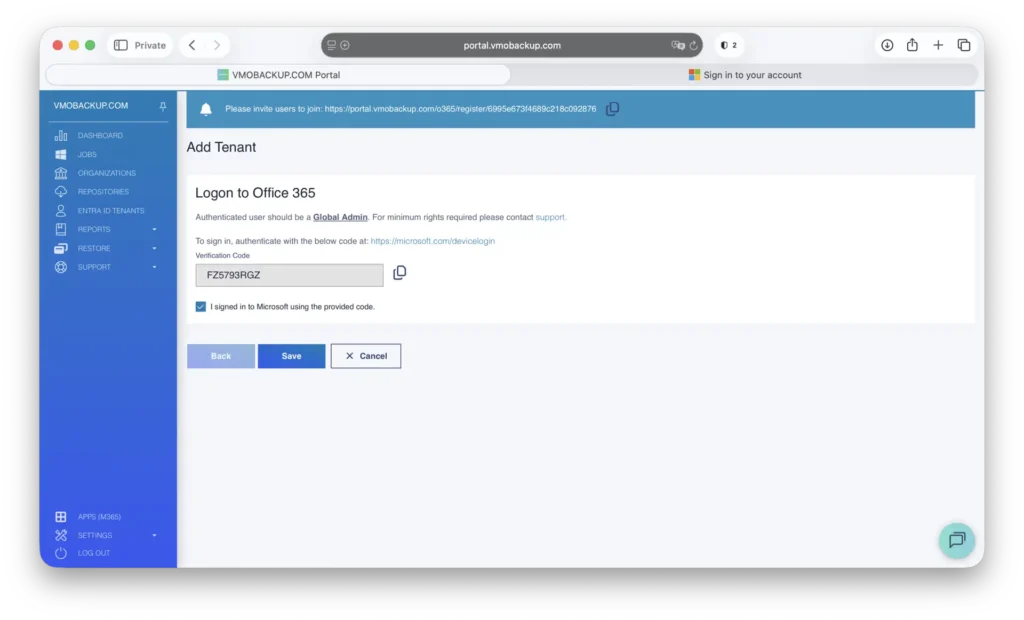
Authenticate to the organization using an account with Global Administrator privileges, then click Save.
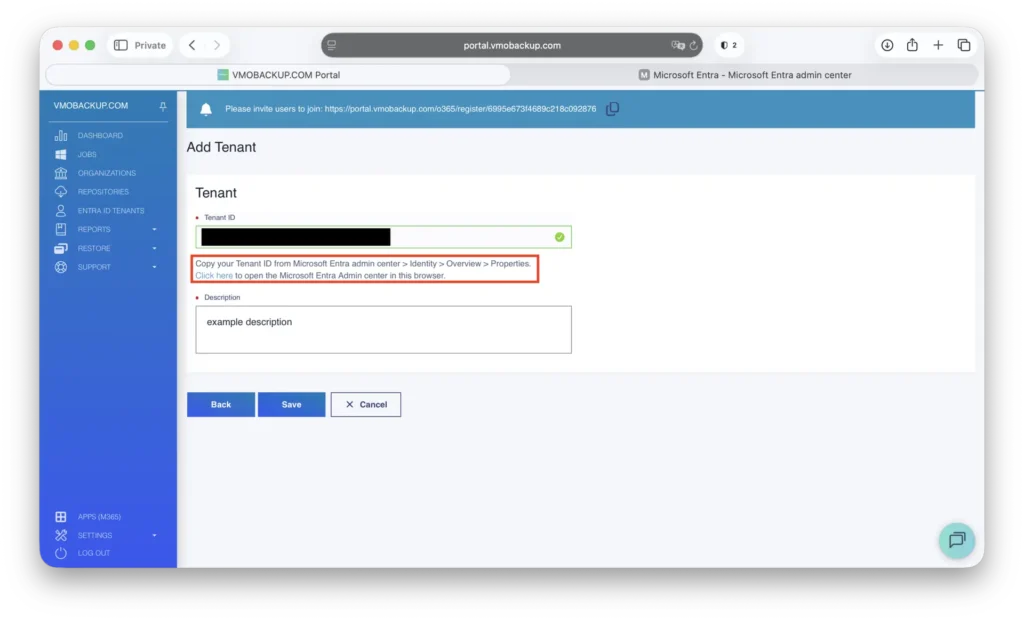
Enter the Tenant ID, provide a description, and click Save.
NOTE: The Tenant ID can be located on the home page of the Microsoft Entra Admin Center:https://entra.microsoft.com/#home
You’ve successfully connected Microsoft Entra ID!
Setting up the Entra ID Backup #
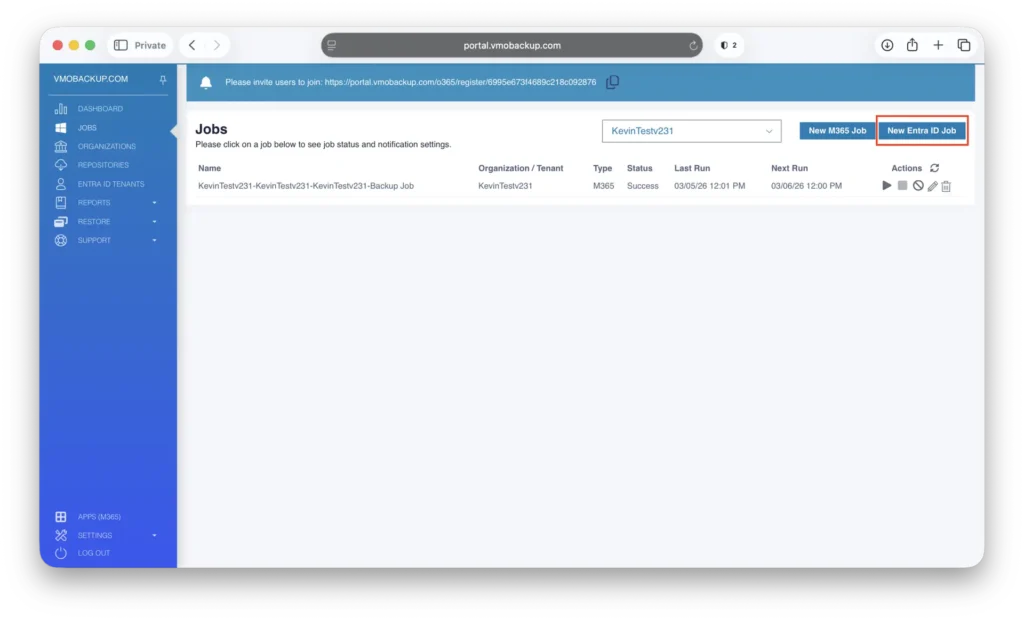
Navigate to the Jobs tab.
From the Company drop-down menu, select your organization.
NOTE: In a multitenant environment, ensure you select the appropriate company for which you are configuring the job.
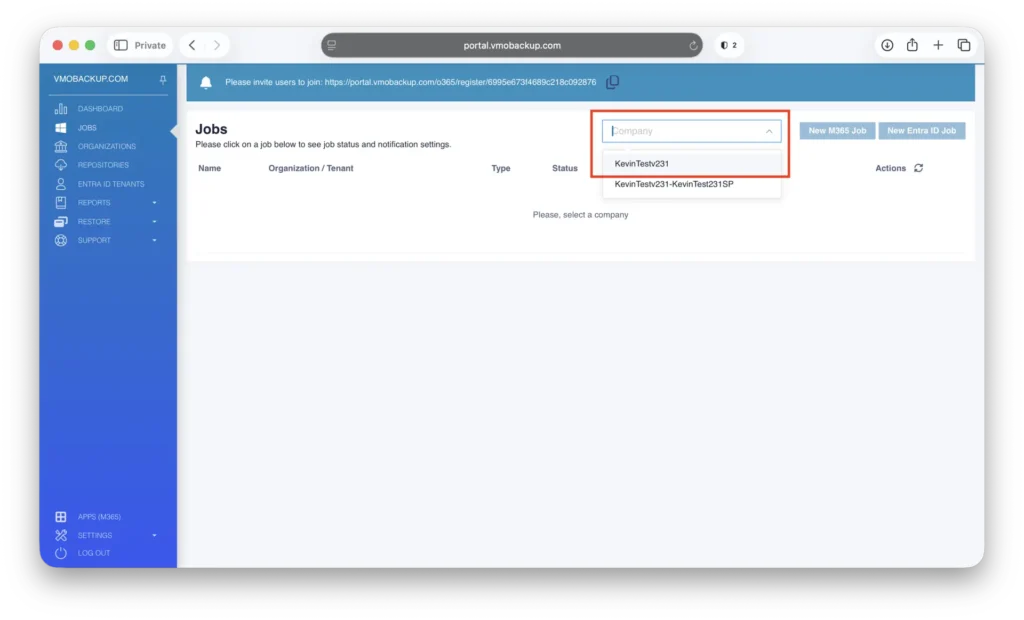
Click New Entra ID Job.
Select the appropriate Entra ID job type: EntraIDTenantBackup or EntraIDAuditLogBackup

Enter a descriptive name for the job (for example, Entra ID Backup or Entra Audit Logs).
Provide a clear description for the job, then click Next.

Configure the schedule by selecting when and how frequently the job should run.
NOTE: Ensure that Run the Job Automatically is enabled.
(Optional) Enable email notifications to receive confirmation once the job completes.
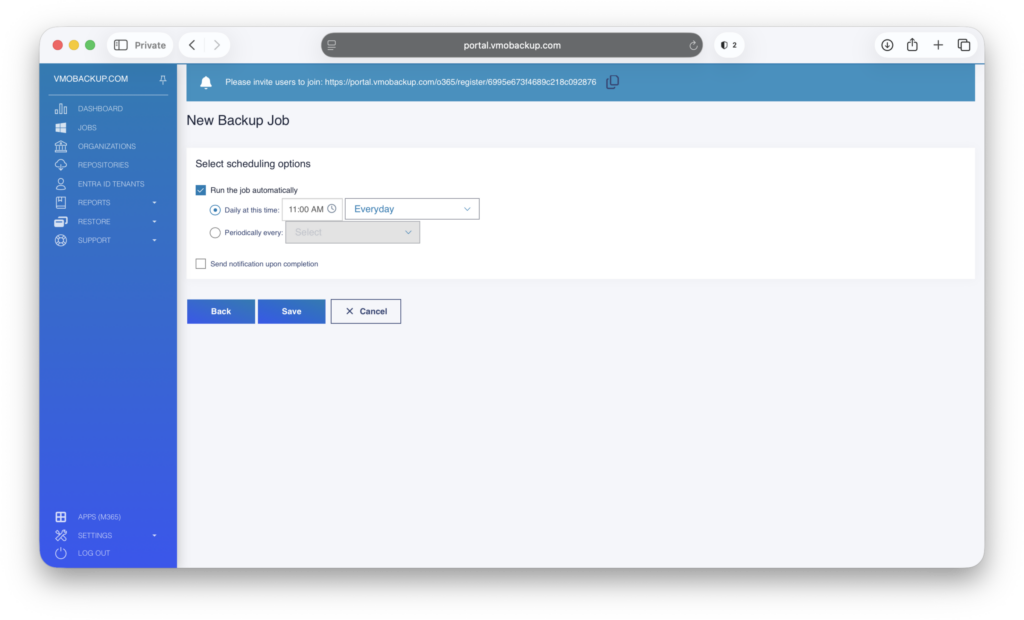
Review and save your settings to finalize the configuration.
Your Entra ID job is now successfully configured.